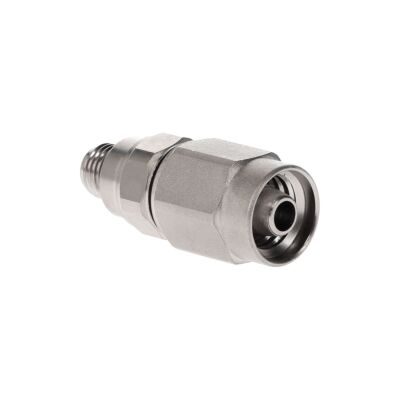
OmniSwivel Hose Repair Kit, 3/8"-24 Male
- 3/8"-24 Male Outlet
- Dimensions: 1-3/4"L x 5/8"O.D
- Solid Brass Construction
- Nitrox Ready
OmniSwivel Hose Repair Kit, 3/8"-24 Male
While hose repair kits are intended to “repair” a broken hose, we have found a better use for them – to make custom length low pressure hoses; see our TekTip below.
Installation Instructions
- Make a clean perpendicular cut in the hose where the fitting is to be applied.
- Partially thread the outside collar onto the end of the hose. Note: only thread this on partially, or you will have difficulty threading the core in.
- Apply some diving grade lubricant to the end of the core.
- Start to thread the core into the outside collar, remembering these are left hand threads. Only thread this on one or 2 turns.
- Tighten the collar fully down on the hose until the hose end bottoms out inside the collar. Make sure the hose is completely inserted into the collar.
- With a pair of wrenches or using a vice, thread the core the remaining distance into the collar. Snug hand tight.
| Brand | OmniSwivel |
|---|---|
| SKU | OSI-HRK-ZM |
| Weight | 0.020000 |
Customer Reviews
 WARNING
For use with low-pressure {<: 200 psi | < 15 bar } regulator and inflation hoses only; not suitable for high-pressure service.
Make Your Own Custom Length LP or BC Hose
While hose repair kits are intended to “repair” a broken hose, we have found a better use for them – to make custom length low pressure hoses. In a rebreather or technical dive configuration, proper hose routing is critical. Since everyone’s body type is different, standard-length hoses might not be suitable to ensure a streamlined and tidy hose route. The Omni Swivel hose repair kit allows the diver to trim a standard rubber or flex hose to the appropriate length, and then replace the threaded end to create a custom-fit hose.
Start with a standard low-pressure regulator or inflation hose that is a longer than you need. Using a sharp cutting tool like a box cutter or single edge razor blade, cut the male 3/8-inch fitting off the first stage end of the hose. Practice making the cut as perpendicular and even as possible. Then make another cut as perpendicular and even as possible, trimming the length of the hose slightly shorter (about ¼ inch | 0.5 cm) than you require for the finished hose. Finally attach a one of our Male 3/8-inch Hose Repair Fittings ends to the hose.


